These are the upgrades on my Ender 3 V2 and what they do. If you haven’t seen the Getting Started Guide I recommend starting there.
Purchased Upgrades
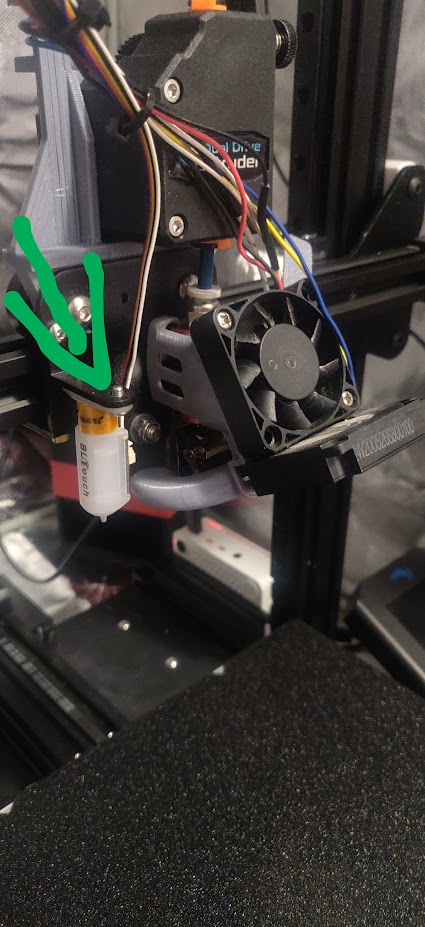
- Allows for autoleveling of the bed
Upgraded Z axis to linear rails and belt driven
- Better stability/drawing on Z axis
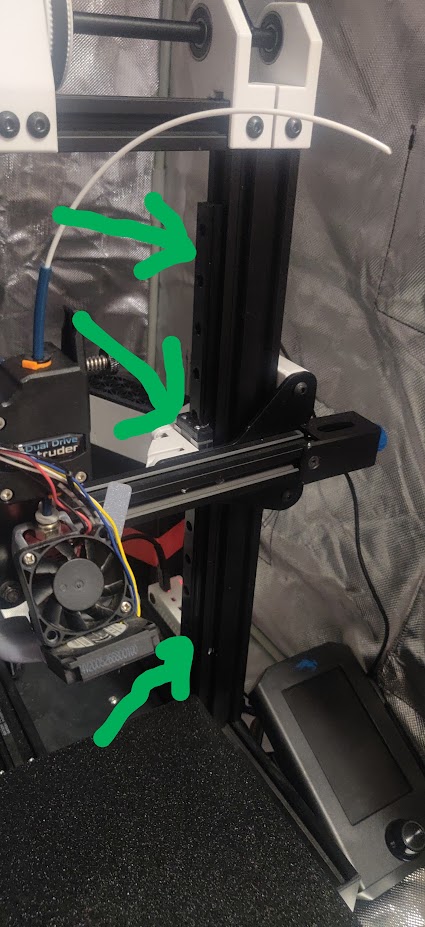
- Prevents issues with springs because we’re using the BLTouch for leveling
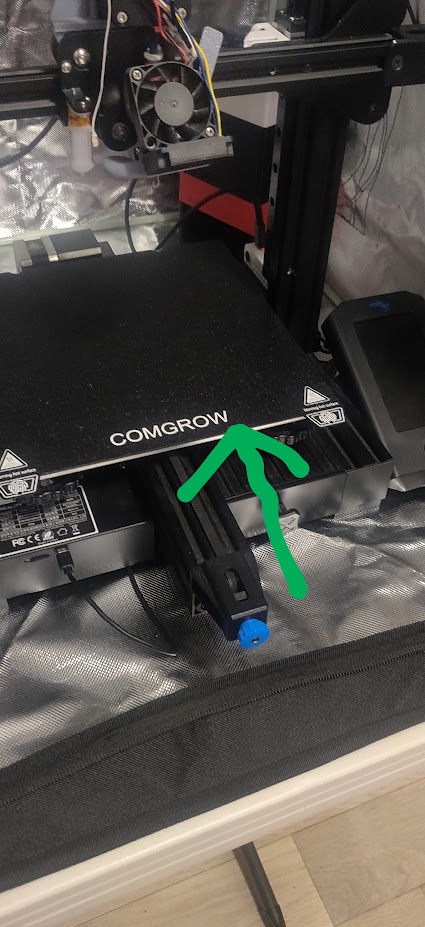
Magnetic Bed and PEI sheet
- Easy to clean and remove prints
- Better adhesion
Voxel Bento Box 2 with 4028 (high flow) fans (I could have manually printed this though)
- Filters out VOCs if you’re using the enclosure
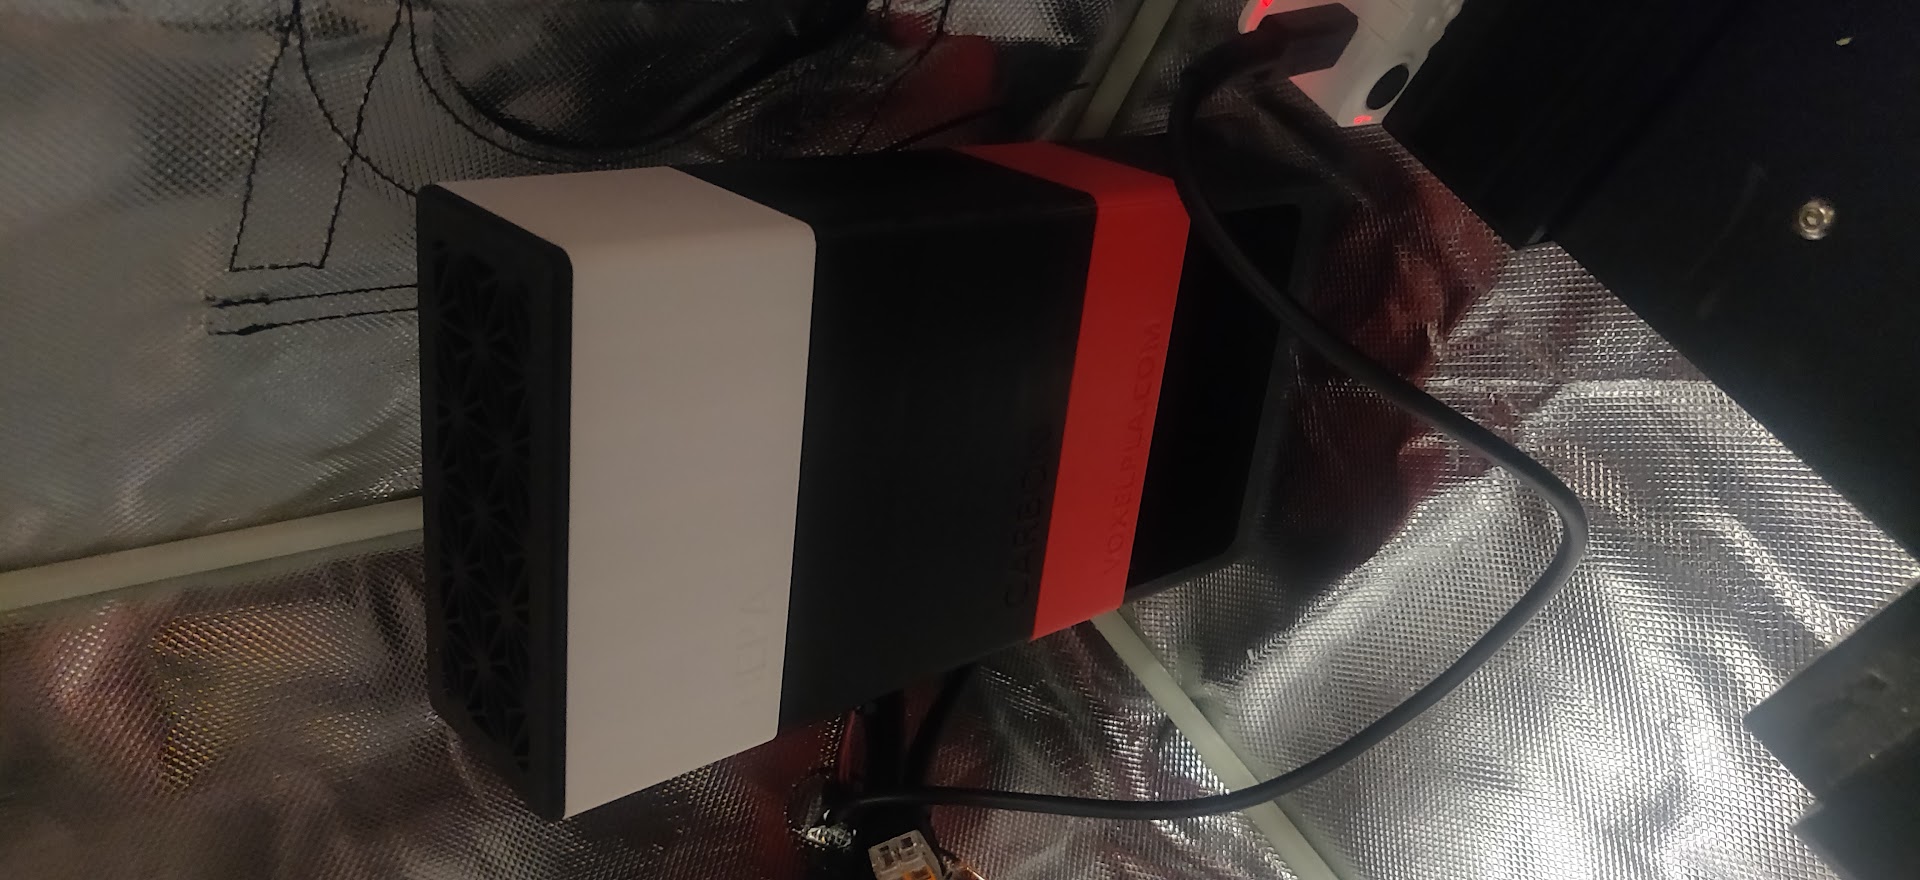
- Purchased so that I can print ABS/ASA (and any other materials that have fumes), and to keep smells in the container to alleviate Meiling’s concerns
ObXidian wear resistant nozzle
- Less than 1kg worth of printing in PETG/PLA combined (I think it’s just in PETG though)
- Should last almost forever assuming you don’t use abrasive materials. Normally the nozzle is a wear item that you have to replace every so often when it gets worn out.
- Better temp, speed, and printing stability (reduced chance of clogs)
- Allows higher temperature (300 degrees C) for additional materials support
- Allows for direct drive extrusion, allowing for faster printing and reduced need for retraction
Printed upgrades
KevenAKASam’s Belt Driven Mod - Options chosen - shortcut here - 1. Single Z Setup 2. Normal Hight 3. Linear Rails 4. Direct Drive Extruder 5. F23 Bearings
- Improves Z axis stability and eliminates problems with Z screw
- I think I used this version at least.
- Better cooling, re-printable. Was printed in PLA, need/want to reprint in PETG in case PLA doesn’t hold.
SpeedDrive (Remix to work with Ender3V2)
- Direct Drive Mod
- Why this one? It allows for the fastest printing speeds with minimum quality hit. Original SpeedDrive documentation here
Other tools I’ve purchased along the way
but don’t consider part of the printer itself
- You can use this to install OctoPi and manage your printer remotely (print via wifi, attach a camera and watch it from around the house, monitor temps, etc.)
- If you get one, you can print a case (or you can buy a kit that includes one)
- This can also be used to run Klipper if you end up going down the 3D printing rabbit hole
- If you use the Raspberry Pi, this will help prevent the Pi from turning the printer on when you want the printer to be off
Some old cheap Logitech USB Webcam
- Lets you see the printer when attached to the Raspberry Pi. I have a cheap old Logitech webcam
- Dries your filament because if it gets wet (via ambient humidity), it can print worse
- I have modded mine to set a default drying time of 72 hours
- My main problem with this is that it only goes up to 50C